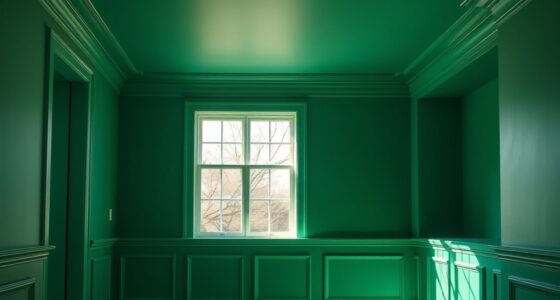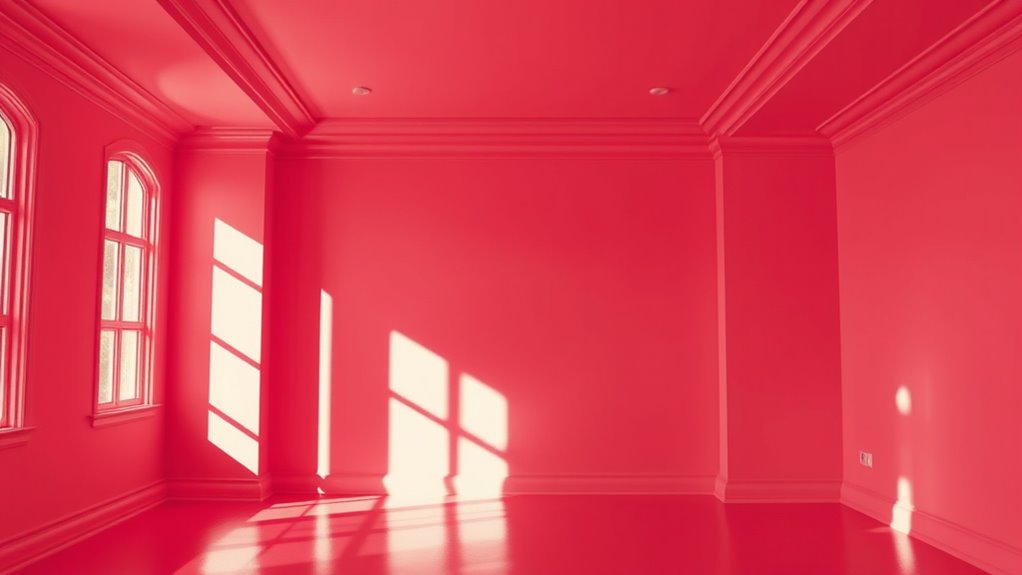

Color drenching involves painting your walls, ceilings, and trim in one bold hue to create a seamless, immersive space. You’ll want to select the right shade that complements your furniture, flooring, and lighting. Proper surface prep, quality tools, and applying thin coats help attain a flawless finish. Pay attention to lighting to ensure the color looks its best. Keep going to discover key tips for perfecting your color drenching project.
Key Takeaways
- Choose a single, cohesive hue that complements your space and enhances the intended mood.
- Prepare surfaces thoroughly and use high-quality tools for smooth, even application.
- Apply multiple thin coats with proper drying time to achieve a flawless, seamless finish.
- Use masking tape and steady techniques to prevent streaks and ensure sharp edges.
- Consider lighting conditions to accurately perceive the color and enhance the immersive effect.
Are you ready to transform your space with a fresh coat of paint? When you decide to drench your rooms in a single hue, you’re making a bold statement that can unify and elevate the entire environment. This technique, known as color drenching, involves painting walls, ceilings, and trim in one consistent color—creating a seamless, immersive experience. To get the most impact, you need to pay attention to color coordination. Choosing the right shade means considering how it interacts with your furniture, flooring, and natural light. Opt for a hue that complements or contrasts intentionally, depending on the mood you want to evoke. For example, a calming blue can make a bedroom feel serene, while a lively yellow energizes a kitchen. Remember, the key is harmony; wild, clashing colors can create visual chaos rather than cohesion.
Once you’ve selected your perfect color, the next vital step is achieving flawless paint finishing. Proper technique ensures your drench looks professional and polished. Start by preparing your surfaces thoroughly—clean, sand, and patch any imperfections. Use painter’s tape to mask off edges and trim, ensuring clean, sharp lines. When applying paint, use high-quality brushes for trim and smaller areas, and a roller for walls and ceilings. Load your tools correctly to avoid streaks or uneven coverage. Applying multiple thin coats rather than one thick layer helps prevent drips and ensures better adhesion. Take your time, and don’t rush the drying process between coats. This patience pays off with a smooth, even finish that truly showcases your chosen hue.
Achieve a flawless finish by preparing surfaces, using quality tools, and applying thin coats with patience.
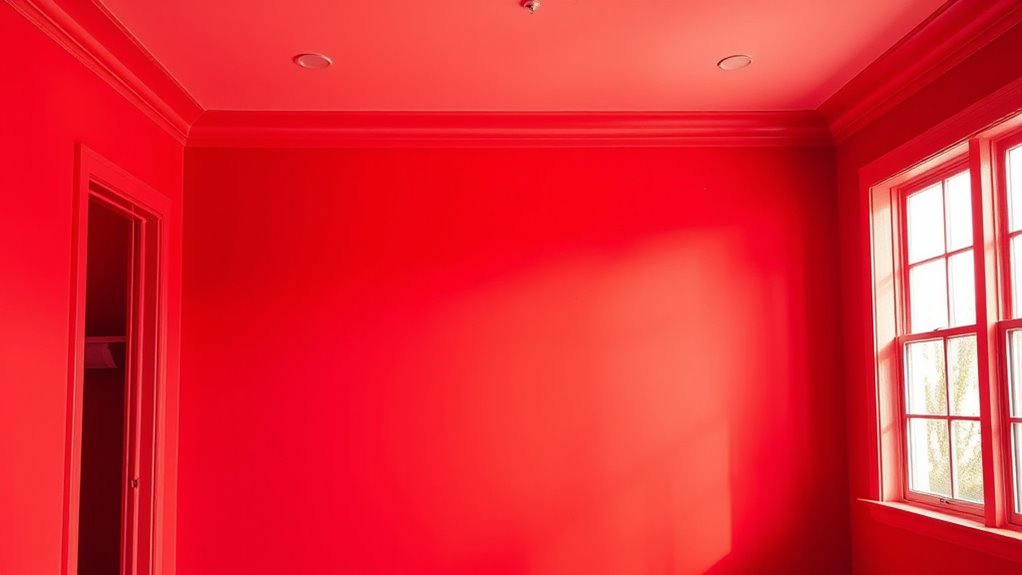
Pay close attention to paint finishing techniques to avoid common flaws like lap marks or roller lines. For ceilings and walls, always work in overlapping sections, maintaining a wet edge to blend seamlessly. For trim, use a steady hand with a fine brush, and consider a semi-gloss or satin finish for durability and a subtle sheen that enhances the color. The consistency in paint finishing across all surfaces creates a cohesive look, amplifying the immersive effect of your color drenching approach. Additionally, understanding color accuracy can help you select shades that look consistent and true to your vision once dried. The consistency in paint finishing and color harmony ensures your space feels intentional and harmonious. Also, consider the lighting in your space, as it can alter how the color appears once dried. Natural light tends to highlight undertones, while artificial lighting can cast different hues. Using proper paint application techniques can help you achieve a more professional appearance and prevent common issues like streaks or uneven coverage.
Furthermore, paying attention to lighting conditions during and after painting can significantly influence how the color appears, helping you achieve the desired visual effect. The overall success of your color drenching project hinges on your attention to detail in both color coordination and paint finishing. When executed correctly, you’ll have a unified, striking space that feels both intentional and inviting. With patience and care, the single hue you choose will transform your room into a stunning, cohesive sanctuary—an impressive testament to your style and vision.
Frequently Asked Questions
How Do I Choose the Right Color for My Space?
When choosing the right color for your space, consider how color psychology influences mood and vibe. Think about lighting considerations, as natural and artificial light can change how colors look. You want a hue that feels right for the room’s purpose and your style. Test samples in different lighting at various times of day, and trust your instincts to pick a color that makes you feel comfortable and inspired.
What Are the Best Tools for Precise Color Application?
You want tools that help you achieve precision, control, and a flawless finish. Use high-quality brushes with sharp edges for detailed work, ensuring smooth brush techniques. Invest in painter’s tape for clean lines and a steady hand. Prepare your paint properly, mixing thoroughly to avoid inconsistencies. A steady roller or spray gun can also provide even coverage. With these tools, your application becomes easier, cleaner, and more professional-looking every time.
How Can I Prevent Paint From Bleeding Onto Adjacent Surfaces?
To prevent paint from bleeding onto adjacent surfaces, you should use edge protection and painter’s tape. Apply the tape carefully along edges and corners, pressing it down firmly to create a seal. Place edge protection along baseboards, trim, or ceilings to shield them from drips. This method keeps your lines clean and neat, ensuring a professional finish without unwanted paint smudges or bleed-through.
What Are the Drying Times Between Coats?
Ever notice how paint seems to take forever to dry? The key is understanding proper paint drying and recoat timing. Usually, you should wait at least 2-4 hours for water-based paints and up to 24 hours for oil-based ones before applying a second coat. Rushing this can cause uneven finishes or peeling. Always check the manufacturer’s instructions, as drying times vary based on humidity, temperature, and paint type.
How Do I Correct Mistakes or Uneven Coverage?
If you notice mistakes or uneven coverage, start by allowing the paint to dry completely. Then, use touch up techniques like feathering the edges to blend new paint with existing. To prevent paint bleeding, apply painter’s tape carefully and use a primer if needed. Lightly sand rough areas before repainting, and always work with a steady hand for seamless results. These steps help you fix issues efficiently and achieve a professional finish.
Conclusion
By choosing a single hue for your walls, ceilings, and trim, you create a seamless, cohesive look that feels both bold and inviting. Some might worry this approach could be overwhelming, but think of it like wearing monochrome clothing—when done right, it highlights your space’s clean lines and personality. Visualize a soft, warm beige wrapping your entire room, making everything feel unified and serene. With careful color selection, your drenching technique transforms your space into a harmonious haven.